In a world where self-care reigns supreme, making a face mask at home is the ultimate DIY project that combines relaxation with a dash of creativity. Who needs a fancy spa day when you can whip up a rejuvenating mask right in your kitchen? Whether it’s a banana, honey, or that mysterious jar of yogurt lurking in the back of the fridge, the possibilities are endless—and way cheaper than that overpriced salon treatment.
Understanding Face Masks
Making face masks at home offers simplicity and creativity, utilizing everyday ingredients for skincare. Understanding their benefits and varieties plays a crucial role in enhancing self-care routines.
Importance of Face Masks
Face masks provide essential nourishment for the skin, improving texture and addressing issues like dryness. Utilizing natural ingredients promotes skin health and helps avoid harsh chemicals commonly found in commercial products. Crafting personalized masks caters to specific skin concerns, allowing users to tailor treatments effectively. Relaxation during the mask application also contributes to overall well-being, reinforcing self-care practices and enhancing mood.
Types of Face Masks
Numerous face mask types exist, each serving specific skincare goals. Clay masks excel at detoxifying and drawing out impurities, ideal for oily skin. Hydrating masks, often rich in ingredients like honey or aloe vera, boost moisture levels, benefiting dry skin types. Exfoliating masks use acids or enzymes to remove dead skin cells, providing a brighter complexion. Sheet masks offer convenience and targeted ingredients, delivering concentrated treatment directly onto the skin. Each type allows customization based on individual skin needs, making the DIY approach versatile.
Materials Needed

Creating a homemade face mask requires minimal supplies easily found around the house. Gather the right materials to ensure an effective and enjoyable experience.
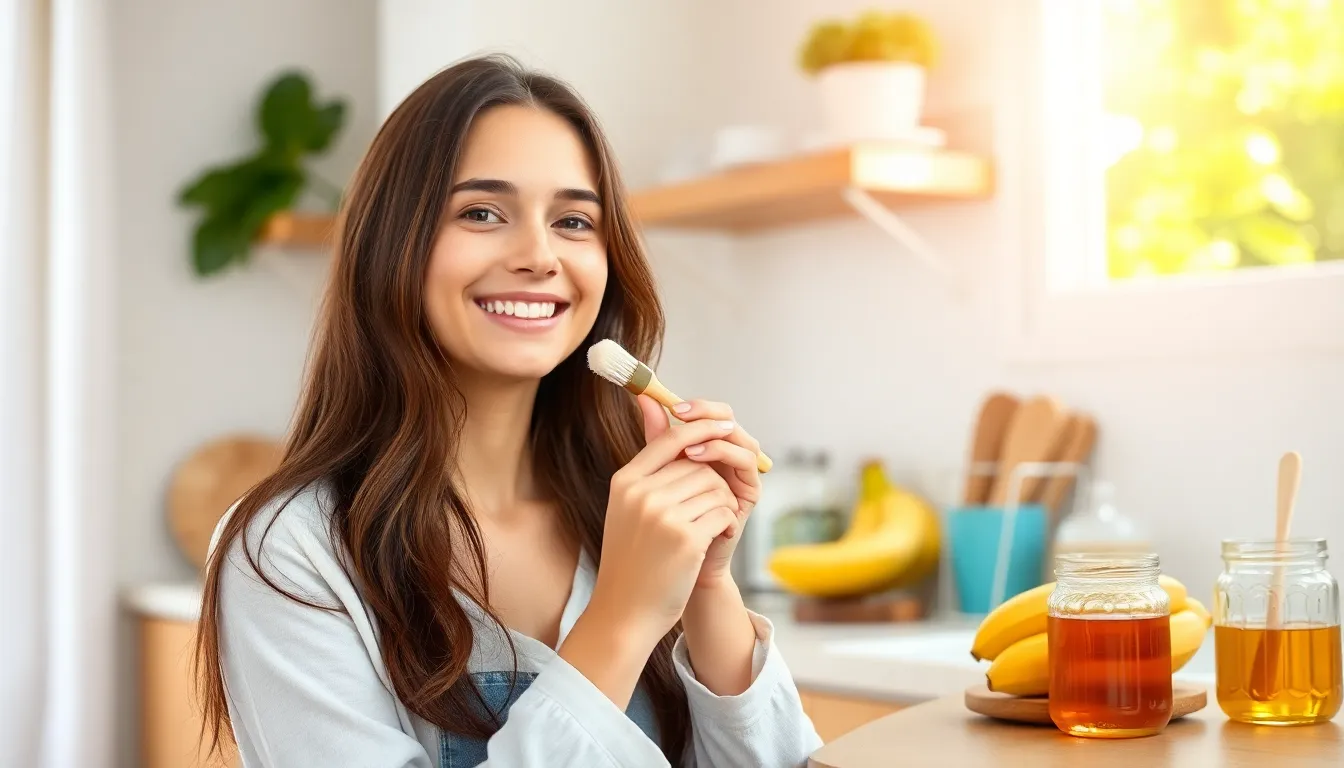
Common Household Items
Start with ingredients like bananas, honey, or yogurt. Each offers unique benefits for the skin. Mix mashed bananas with honey for hydration, while yogurt acts as a gentle exfoliant. Oatmeal serves as another option, soothing irritation and providing texture. Consider adding lemon juice for brightening effects, but use it sparingly. Essential oils can enhance the mask, offering aromatherapy benefits alongside skincare. Ensure all items are fresh to maximize their properties in the mask.
Recommended Fabric Choices
For a fabric-based face mask, select breathable materials like cotton or linen. These fabrics allow air circulation while providing adequate coverage. A tightly woven cotton fabric enhances filtration while remaining soft against the skin. Avoid synthetic materials as they may trap moisture and cause irritation. Aim for multiple layers for increased protection, particularly if using fabric for non-cosmetic purposes. Remember to use clean, pre-washed fabric to ensure safety and comfort during application.
Step-By-Step Guide
Creating a homemade face mask involves simple steps that anyone can follow. Preparing materials and crafting the mask takes minimal time.
Preparing the Materials
Start by gathering all necessary ingredients and tools. Bananas, honey, yogurt, and oatmeal serve as common items. Ensure clean utensils are available for mixing. A mixing bowl and fork work well for mashing. Consider lemon juice for added benefits. Essential oils can enhance the mask’s effects. Clean and pre-wash all fabric for cloth masks. This guarantees safety and comfort during application.
Crafting the Face Mask
Combine the chosen ingredients in a mixing bowl. Mash until smooth for an even texture. Adjust quantities based on desired consistency. Apply the mixture directly to the face or use it with a fabric mask. Allow the mask to sit for about 15 to 30 minutes. Rinse with lukewarm water afterward. Pat dry gently with a clean towel. Enjoy the benefits of a refreshing and nourishing face mask.
Tips for Effectiveness
Using homemade face masks can offer significant benefits when done correctly. Following specific tips enhances their effectiveness.
Proper Usage
Apply the mask on clean, dry skin for optimal results. Evenly spread the mixture to avoid clumping, ensuring every part of the face receives treatment. Avoid the eye area, as ingredients can irritate sensitive skin. Leave the mask on for 15 to 30 minutes; this timeframe allows maximum absorption of nutrients. Rinse thoroughly with lukewarm water to remove all residue, and pat the face dry gently. Regular use, two to three times a week, yields visible improvements in skin texture and hydration.
Maintenance and Care
Maintain clean utensils and mixing bowls to prevent contamination. Store any leftover mask in the refrigerator, ensuring freshness for future use. Discard masks that change color or smell off, as this indicates spoilage. Replenishing supplies encourages creativity in mixing new ingredients, enhancing effectiveness. Remember to clean the face before each application to remove impurities, ensuring better absorption of the mask’s benefits. Consistency in application improves the overall health and appearance of the skin.
Creating a face mask at home is an enjoyable and rewarding experience that anyone can embrace. With simple ingredients found in the kitchen it’s easy to customize treatments that cater to individual skin needs. This DIY approach not only saves money but also promotes healthier skin by avoiding harsh chemicals.
Incorporating homemade masks into a regular self-care routine can lead to noticeable improvements in skin texture and hydration. By experimenting with different combinations and following proper application techniques, individuals can unlock the full potential of natural skincare. Embrace the creativity and relaxation that comes with crafting these masks and enjoy the nourishing benefits they provide.